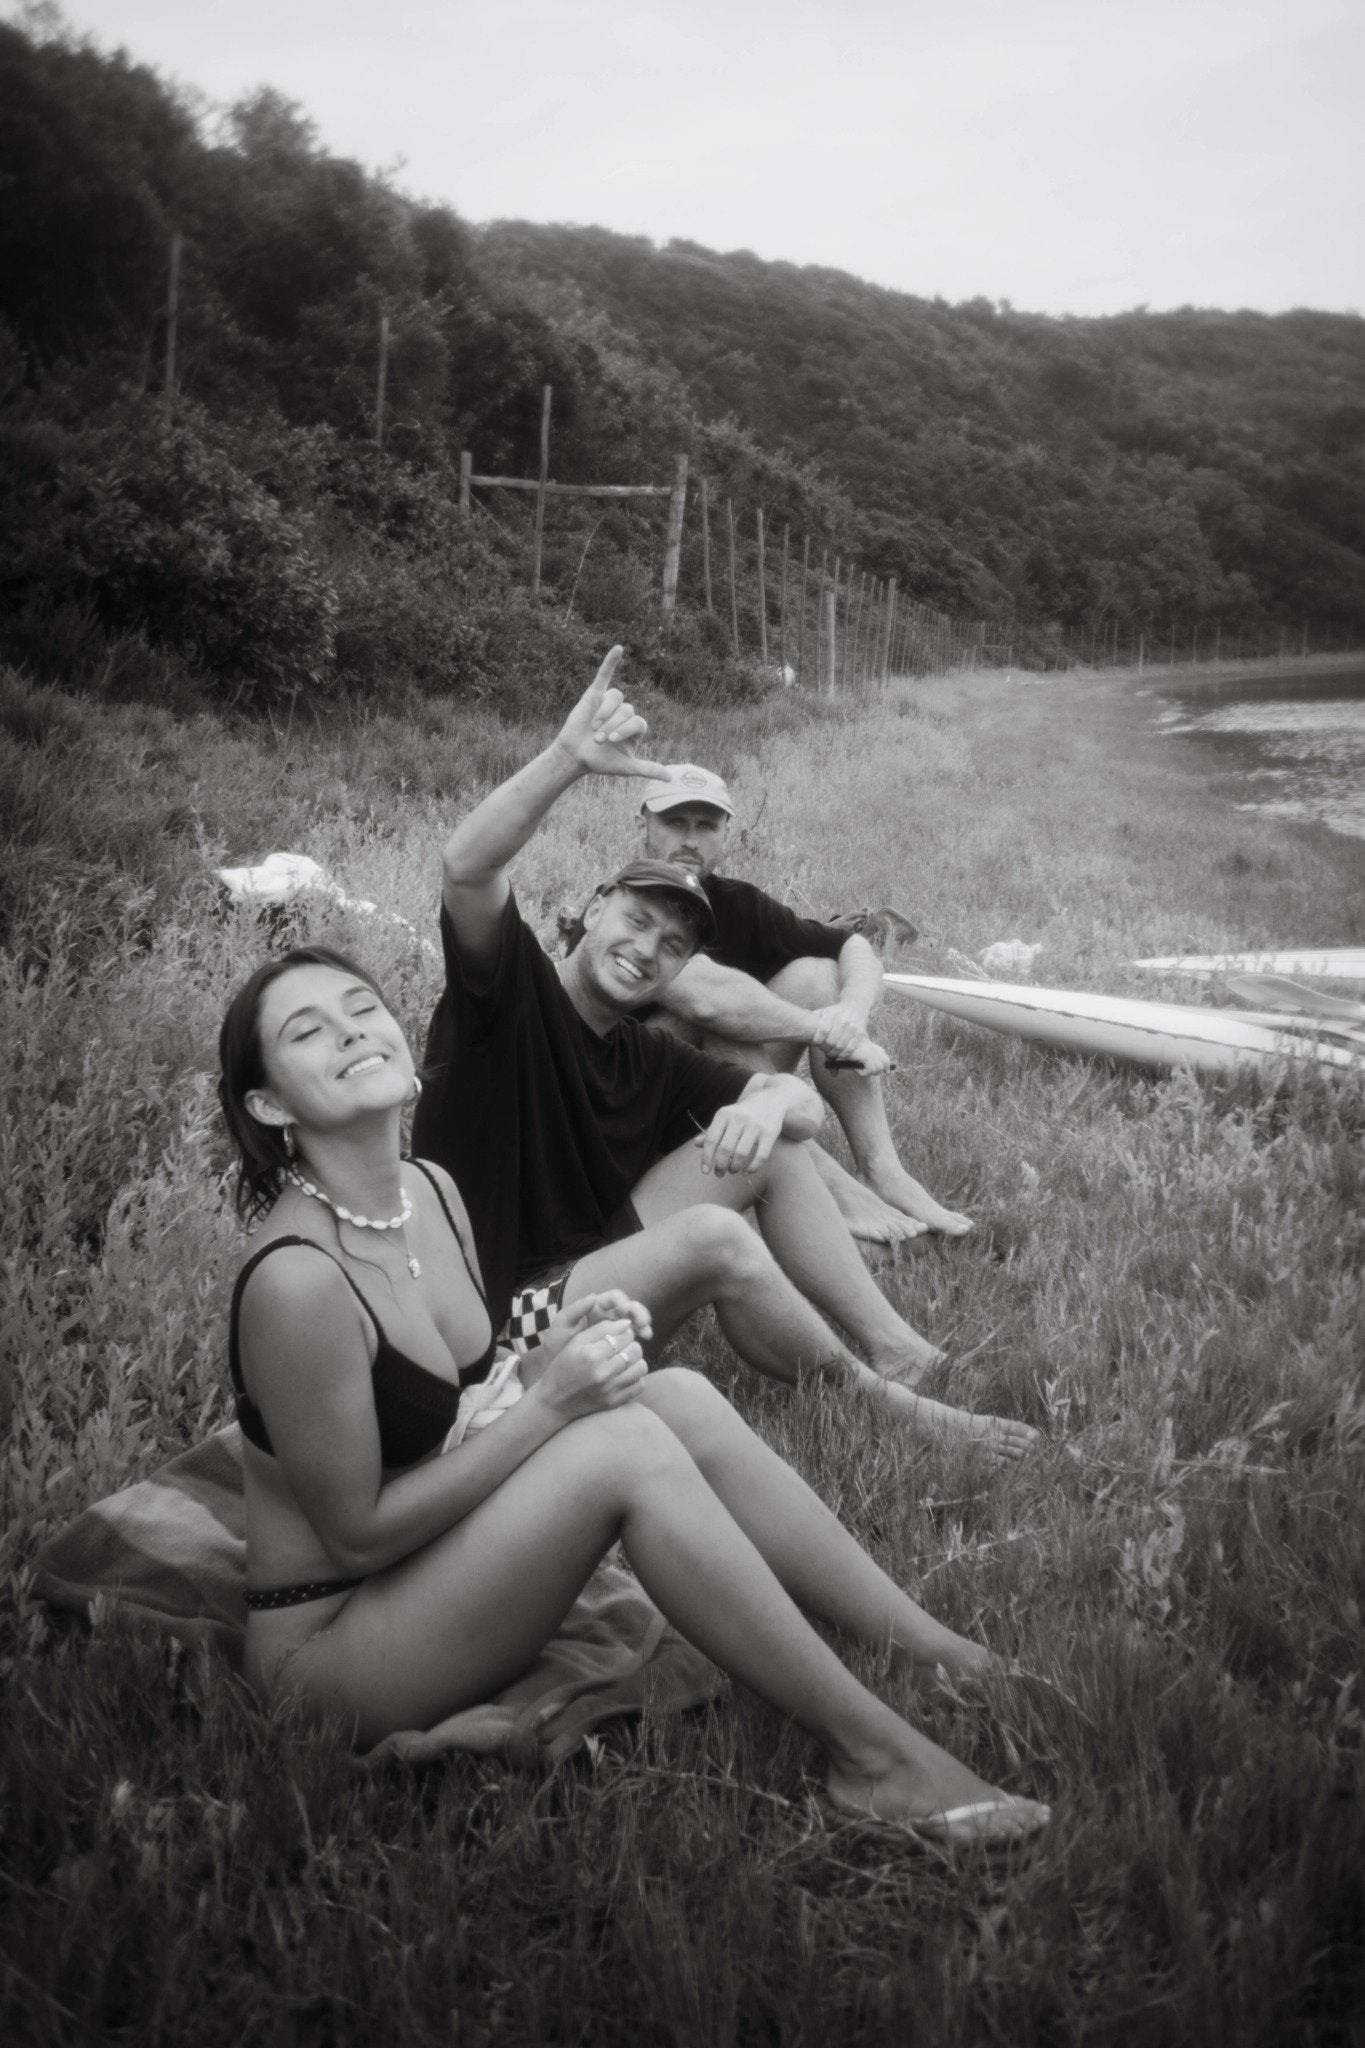
Get the Most Out of Your Retropia Lens Filter
Thanks for picking up the Retropia® Vintage Glow Lens Filter. This page will walk you through how to get the best results, from setup to shooting to editing.

🔧 Getting Started
1. Attach the Filter
Screw it onto the front of your lens like any regular filter. It’s double-threaded, so you can still use a lens cap or stack additional filters if needed.
2. Using Step-Up Rings?
If you bought a larger filter size to use across multiple lenses, just use a step-up ring to adapt it to your smaller lenses.
👉 Grab the Retropia Step Up Ring to use your filter on all lenses.

📸 How to Shoot With It
To get that dreamy, vintage look:
Shoot Into Light – Street lamps, sunsets, neon signs. This brings out that signature glow, soft halation, and subtle blue flares.
Aperture Sweet Spot – f/2.0–f/4.0 works best for portraits and a soft cinematic blur.
Best Subjects – People, architecture, night scenes, moody streets, creative B-roll.
Underexpose Slightly – Helps you control the glow better in post.

🎨 Quick Editing Tips
Don’t love the warmth? You can tone it down without losing the glow.
Reduce temperature: Slightly shift cooler in Lightroom or your preferred editor.
Lower tint if colors are skewing too magenta.
Skip sharpening: Embrace the softness—it’s part of the aesthetic.
Add grain or fade for an even more vintage vibe.
Add the Retropia Film Emulation LUTs after shooting to build on the glow, not replace it
This filter gives you the glow straight out of camera—no editing required, but still highly customizable in post.

Earn & Grow With Retropia
If you enjoy shooting with your Retropia® Lens, turn it into an income stream.
Join our Partner Program, share your link, and earn 20% commission per sale.

